
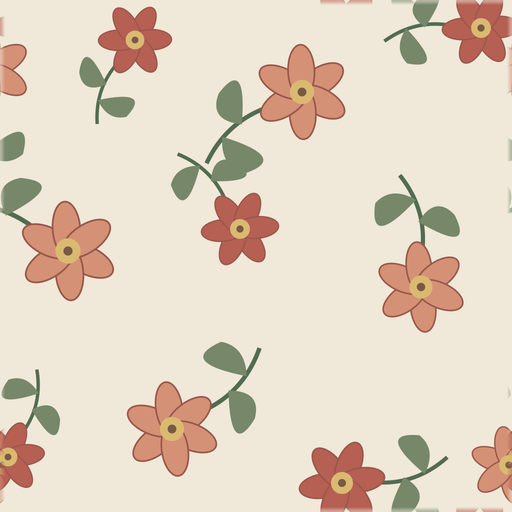
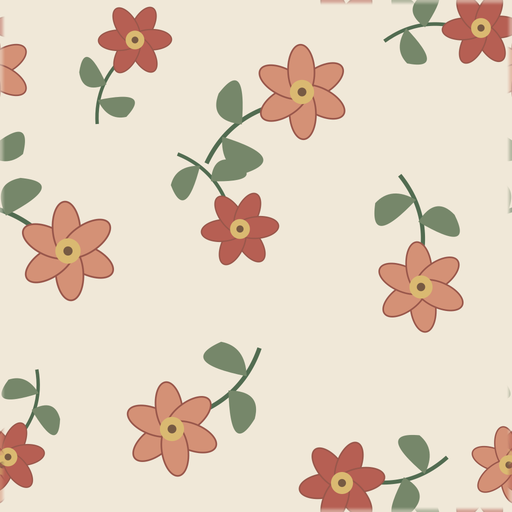
To turn an image into a seamless repeating pattern, make the left edge continue into the right edge and the top edge continue into the bottom edge. Repair the joins without independently changing the new outer borders, inspect several repeated tiles, and export one clean raster tile. You can do this manually with a 50 percent offset or use an automatic edge-repair workflow.
Before you start: decide whether to preserve or reconstruct
There are two different image-to-pattern jobs.
Preserve the existing artwork when the motifs, colors, spacing, and center composition are already correct. The job is to repair the borders while changing as little of the image as possible. The Seamless Pattern Generator is designed for this workflow.
Reconstruct a new pattern from a reference when the source is a product photo, sketch, or inspiration image rather than a usable tile. That workflow may isolate motifs, rearrange objects, or generate new content. The result can look related to the source without preserving the original pixels.
Method 1: use a manual 50 percent offset
The offset method moves the original outer edges into the center, where they are easier to repair.
- Open the image on a square or rectangular canvas.
- Note the exact pixel width and height.
- Offset the image by half its width and half its height. A 2000 × 2000 px image moves 1000 px horizontally and 1000 px vertically.
- Repair the vertical and horizontal joins now visible through the center.
- Use cloning, healing, masks, painting, or content-aware tools to remove the join.
- Do not edit the new outer edges independently. Those borders already contain matching wrapped pixels.
- Export one tile, then test the exported file as a repeat.
For an illustration made from separate flowers, icons, leaves, or characters, use a precise wrap instead of blending. Any object that crosses the left edge must continue at the same vertical position on the right. Any object that crosses the top must continue at the same horizontal position on the bottom.
Method 2: automatically match the image edges
Use automatic repair when the source is already close to the desired composition and you want to preserve it as raster artwork.
- Open the image-to-seamless pattern maker.
- Upload JPG, PNG, WebP, or AVIF artwork.
- Run the standard fidelity-first repair or the optional pattern-aware AI repair.
- Compare the source and repaired result.
- Inspect the default 3×3 repeat and seam guide.
- Download the single flattened PNG tile after the joins and spacing look correct.
Automatic edge repair is best for flattened floral, geometric, botanical, abstract, icon-based, wallpaper, textile, and POD artwork. It is not a replacement for editable vector paths or layered source files.
How to inspect the repeat
A single square can look clean while the repeated surface still fails. Use the free Seamless Pattern Checker and review at least a 3×3 grid. A 4×4 or 5×5 view is useful when the problem is repetition rhythm rather than one edge.
Look for:
- a vertical or horizontal band through the joins;
- motifs that are clipped or doubled at the edges;
- diagonal chains formed by one bright flower or object;
- repeated empty channels;
- sudden color or brightness changes;
- objects that become crowded when neighboring tiles meet.
Technical seamlessness only proves that opposite borders match. It does not prove that the larger pattern has balanced rhythm.
Choose straight, half-drop, or brick repeat
A straight repeat places each tile in a regular grid. It is the simplest layout and the easiest to align.
A half-drop repeat shifts alternate rows by half the tile width. It often works well for floral and botanical artwork because it reduces obvious horizontal rows.
A brick repeat shifts alternate columns or rows in a masonry-like arrangement. It can soften rigid repetition but should still be checked at the final scale.
Use Pattern Filler to compare these layouts before creating the larger canvas.
Prepare the final raster canvas
Export requirements depend on the destination. Pattern Filler can create a PNG, JPG, or baseline TIFF and write the selected DPI metadata, with 300 DPI as the default. DPI alone does not create detail. Source pixels, repeat scale, and final physical dimensions determine effective resolution.
Use the destination-specific workflow before production:
Confirm pixel dimensions, physical size, bleed, color mode, file limits, and accepted format with the printer or marketplace. Keep the original layered or vector file separately when editable motifs or color separations are required.
Quick decision guide
| Starting point | Recommended workflow |
|---|---|
| Existing raster artwork that should stay recognizable | Repair opposite edges, inspect the repeat, export one PNG tile |
| Editable vector motifs | Build the repeat in vector design software, then inspect the exported proof |
| Reference photo or sketch that should become a new design | Use an image-to-pattern reconstruction tool |
| Finished seamless tile that needs a large print canvas | Use Pattern Filler for layout, dimensions, format, and DPI metadata |
| Valuable artwork that automation keeps changing | Use the manual offset workflow with masks and pixel-level control |
The reliable sequence is always the same: repair or construct one tile, inspect several repeats, choose the layout, then prepare the destination-sized file.