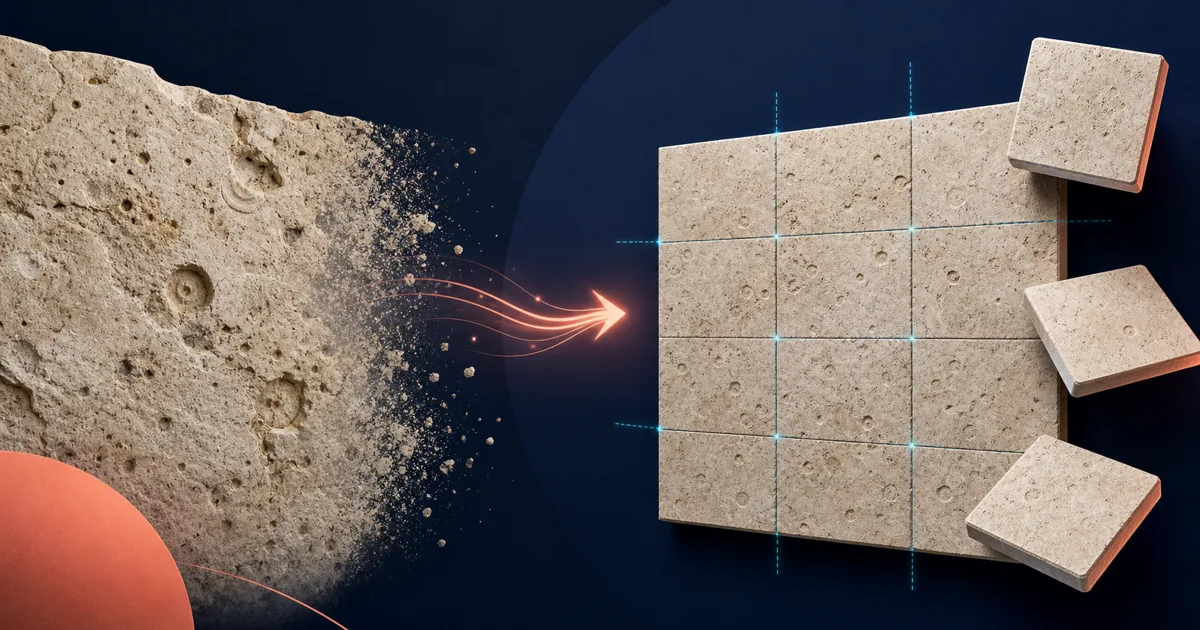
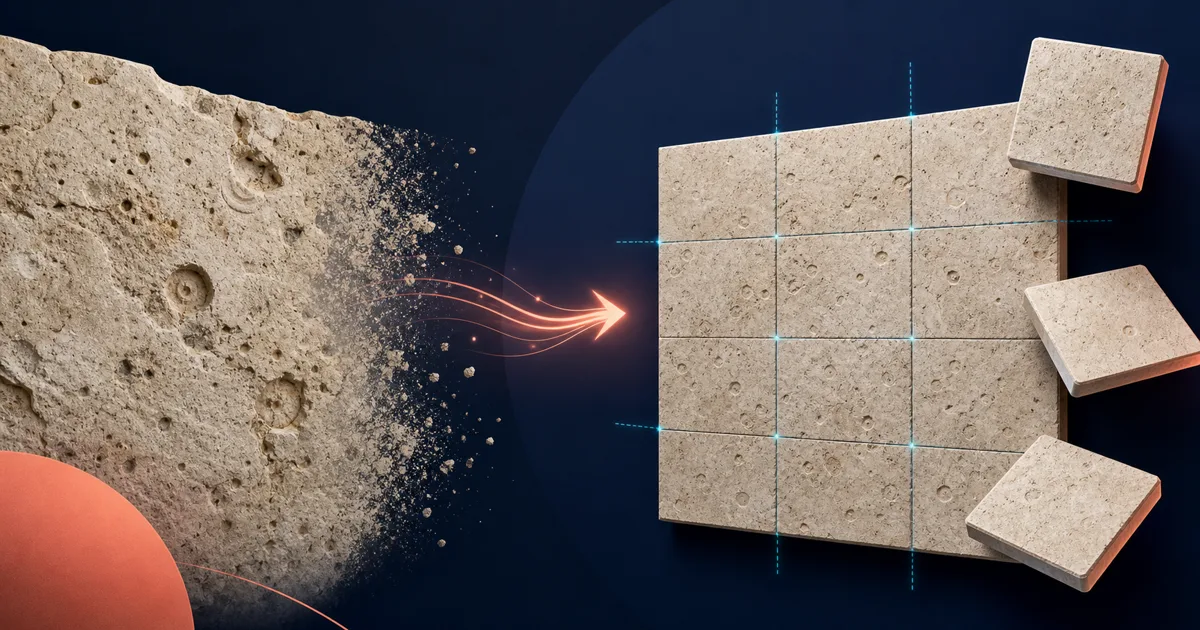
The best image-to-seamless converter does more than mirror the edges of a square. It should preserve the useful character of a photo or render while reducing the mismatch between opposite borders. Most importantly, it should let you test the result as a repeat before you put it on a wall, a floor, a fabric panel, or a product mockup.
This guide focuses on tools for a specific starting point: you already have an image. It might be a material photo, texture scan, painting, AI render, or pattern reference. That is different from generating a new texture from a prompt, and it calls for a different tool choice.
Research snapshot: public feature pages were checked on July 15, 2026. Product capabilities, free limits, plans, and processing methods change; verify them in the linked live tools before committing a production workflow.
The best image-to-seamless tools at a glance
| Tool | Best for | Why it stands out |
|---|---|---|
| Seamless Texture Generator | A fast browser workflow for materials and pattern references | Edge repair, 2x2 preview, seam guide, free evaluation download |
| NormalMap.ai | Material sources that need an immediate PBR follow-up | Seamless conversion plus normal, AO, roughness, metallic, and height paths |
| PatternedAI | Decorative images that should become print-oriented patterns | Image-to-pattern generation plus recoloring and print preparation |
| Repper | Controlled geometric repeats from an owned image | Real-time tiling styles and composition control |
| Photoshop | A special raster image that needs manual repair | Precise pixel-level decisions and layered editing |
First: decide whether your image is a good candidate
Converters work best when the input already behaves like a surface. An evenly lit patch of stone, fabric, paper, bark, plaster, or abstract paint usually has a better chance than a beautiful, dramatic photograph.
Use this checklist before uploading:
- It is mostly flat or straight-on, not a room or product shot with perspective.
- Lighting is even; strong shadows and glare do not cross the image.
- Detail is spread through the image rather than concentrated in one central object.
- There is no text, face, logo, or feature that would look strange repeated forever.
- You can imagine the image continuing in all four directions.
If the answer to several of those is no, start with a prompt-generated material or prepare the source before conversion. A converter can reduce seams; it cannot make a scene behave like a surface without changing the scene.
1. Seamless Texture Generator — best all-round browser workflow
The Seamless Texture Generator is designed for creators who need a source image to become a usable repeatable PNG. Upload a photo, scan, render, or texture reference, then compare the original and processed result as a single image or 2x2 repeat. The seam guide is there for the moment that matters: checking the central joins.
This is a good all-round choice for stone, concrete, wood grain, paper, fabric, plaster, terrazzo, wallpaper references, and AI renders. It is also useful if you need a practical proof before paying for a high-resolution export: the product currently offers a free 512px evaluation download, with larger outputs using credits.
The focus is repeat-ready image assets rather than complex material-map authoring. Use it when the output must look good in a tiled preview and move quickly into a mockup, design, game, or 3D test.
2. NormalMap.ai — best for a seamless image that needs PBR maps next
NormalMap.ai's Seamless Texture Generator is a strong fit for 3D and game work. Its public page describes a drag-and-drop image workflow that performs seamless conversion and can send the result into a PBR process for normal, AO, roughness, metallic, and height maps. It also presents prompt generation for creators who do not yet have a source.
Choose this tool when “make it seamless” is not the final deliverable. If the image will immediately become a material in a game engine or renderer, the map workflow can save handoffs. It is less focused on decorative print production than on material output.
3. PatternedAI — best for turning visual references into decorative patterns
PatternedAI is better thought of as an AI pattern-production environment than a simple edge blender. Its public site describes extracting patterns from photos, sketches, fabrics, product images, and motifs; it also offers editing, recoloring, repeat repair, vectorization, upscaling, and mockup visualization.
That makes it an excellent option when your source image is a style cue rather than a literal material sample. For instance, a botanical sketch, a branded icon, or a fabric photo may become the basis for a fresh seamless design. If your goal is to preserve a specific marble or concrete photo faithfully, a material-focused converter gives you a more direct route.
4. Repper — best for visual control over the repeat construction
Repper is the choice for people who want to decide how the image repeats. Its image-led workflow uses a source image, selectable tiling styles, and an adjustable selection area to generate a seamless pattern in real time. The public site says it includes more than 30 tiling styles.
Repper is especially strong for drawings, collages, scanned marks, photography, and motifs where symmetry and composition are part of the design. It does not aim to repair a realistic material photo with a dedicated edge-harmonization workflow. Instead, it gives you visual construction control.
Use Repper for intentional graphic repeats. Use an image-to-seamless converter for surfaces that should look continuous and unobtrusive.
5. Photoshop — best for hard cases where automation would damage the source
Photoshop remains the best fallback when the source has high editorial value. Offset the image to bring the outer joins into the middle, then repair the seam with clone, heal, masks, and adjustment layers. It is slower than an online converter, but you decide exactly what gets removed or preserved.
This is the right route for a one-of-a-kind painting, a licensed photograph, a complex heritage material, or any source where an automatic tool keeps changing the details that matter. It is also a helpful skill to keep when a mostly successful automatic result needs the last five percent of cleanup. See the manual Photoshop workflow for the core method.
A practical test after conversion
Do not judge a converted tile only at 100% as a single image. Run this short test:
- View the result as a 2x2 repeat.
- Check the vertical and horizontal join through the center.
- Zoom out until several tiles are visible; look for bands and repeated hero details.
- Test it on the destination: a CSS background, mockup, canvas fill, Blender plane, or game material.
- If the source has directional lighting, compare it with a flatter crop or regenerate a material instead.
The repeat check is what turns a convenient image tool into a dependable production step.
Which converter should you choose?
Choose Seamless Texture Generator if you want a focused browser path from image upload to a seam-aware PNG. Choose NormalMap.ai when you need PBR maps after conversion. Choose PatternedAI when the image is becoming a decorative print pattern. Choose Repper when you want to build a graphic repeat with your own source image. Choose Photoshop when only careful manual work can protect a valuable source.
For a fast first test, open the Seamless Texture Generator, upload the flattest, most evenly lit version of your source, and inspect the 2x2 preview before exporting.