
Visible seams happen when a texture does not connect cleanly with itself. The left edge does not match the right edge, the top does not match the bottom, or a detail stops suddenly at the tile boundary.
The fix starts with diagnosis. A seam is not one problem. It can come from lighting, composition, perspective, repeated objects, border artifacts, or a source image that was never meant to tile.
First, inspect the texture as a repeat
Do not judge the single tile. Place it in a 2x2 preview.
The center cross is the most important area. That is where the original image edges meet. If you can see a vertical or horizontal line there, the texture will show seams when used on a larger surface.
Look for:
- A hard cross through the center.
- A dark or bright band.
- A broken crack, thread, or pattern motif.
- A repeated spot that appears in every tile.
- A corner that forms a visible block.
The 2x2 preview turns an invisible edge problem into something obvious.
Identify the seam type
| Seam type | What it looks like | Best fix |
|---|---|---|
| Lighting seam | One side is darker or brighter | Use flat lighting or balance the image |
| Structural seam | Cracks, fibers, or motifs break at the edge | Repair edges or regenerate |
| Perspective seam | Surface angle changes across the tile | Use top-down source or prompt |
| Object repeat | One mark appears too regularly | Choose a more even source |
| Border seam | The image has a frame or edge artifact | Crop or convert the image |
Once you know the seam type, the next step is easier.
Fix seams in prompt-generated textures
If the texture came from a text prompt, improve the prompt before doing manual cleanup.
Add constraints such as:
- top-down view
- flat lighting
- no perspective
- no border
- evenly distributed detail
- continuous surface
- square seamless repeat
For example, instead of:
mossy stone floor
Use:
mossy stone floor texture, top-down game asset, evenly distributed stone blocks, soft flat lighting, no border, square seamless repeat
This gives the generator less room to create a scenic image and more direction toward a usable tile.
Fix seams in uploaded images
If the texture came from a photo, scan, render, or pattern image, the source matters.
A good source image has:
- Even light.
- Surface-like detail.
- No large central object.
- No text or logo.
- Minimal perspective.
- Clean edges.
If the source has strong shadows or a single object, conversion can reduce seams but may not make it production-ready. In that case, crop a better patch or choose another source.
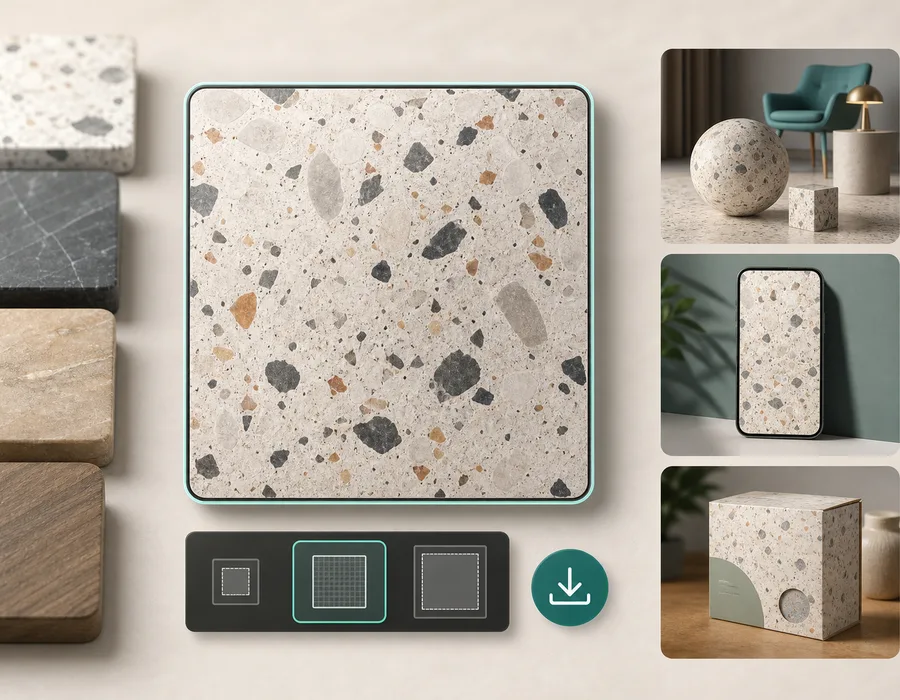
Use the Image to Seamless Texture Converter to repair edge mismatch and check the result as a repeat.
Reduce obvious repetition
A texture can be seamless and still look repetitive. This happens when one feature is too memorable: a bright stone, a dark knot, a strong crack, a large flower, or a visible scratch.
To reduce repetition:
- Use smaller, more evenly distributed details.
- Avoid high-contrast landmarks.
- Regenerate with lower contrast.
- Crop out dominant marks before conversion.
- Mix subtle procedural variation in the final design tool.
For game and 3D materials, repetition often becomes more obvious at distance. Test the texture at the size it will appear in the final scene.
Avoid fixing the wrong thing
Sometimes the seam is not the texture file. It can be the way the texture is mapped.
Check:
- UVs are not stretched.
- The material uses repeat wrapping.
- The texture scale is appropriate.
- The image is not being clamped at the edge.
- The object does not have mismatched UV islands.
If the texture repeats cleanly in a 2x2 preview but fails on a model, the issue may be mapping rather than the image.
A quick seam repair workflow
- View the texture as a 2x2 repeat.
- Identify the seam type.
- If prompt-generated, tighten the prompt and regenerate.
- If uploaded, repair the image with an image-to-seamless converter.
- Test the exported PNG in the real destination.
- Adjust scale and contrast in context.
The key is to make the seam visible early. Once you can see the failure clearly, you can decide whether to repair, regenerate, crop, or replace the source.
Repair a texture now
Use the Image to Seamless Texture Converter to upload a source image, repair edge mismatch, and inspect the result in a 2x2 repeat preview. For new materials, generate a cleaner starting point with the Seamless Texture Generator.