
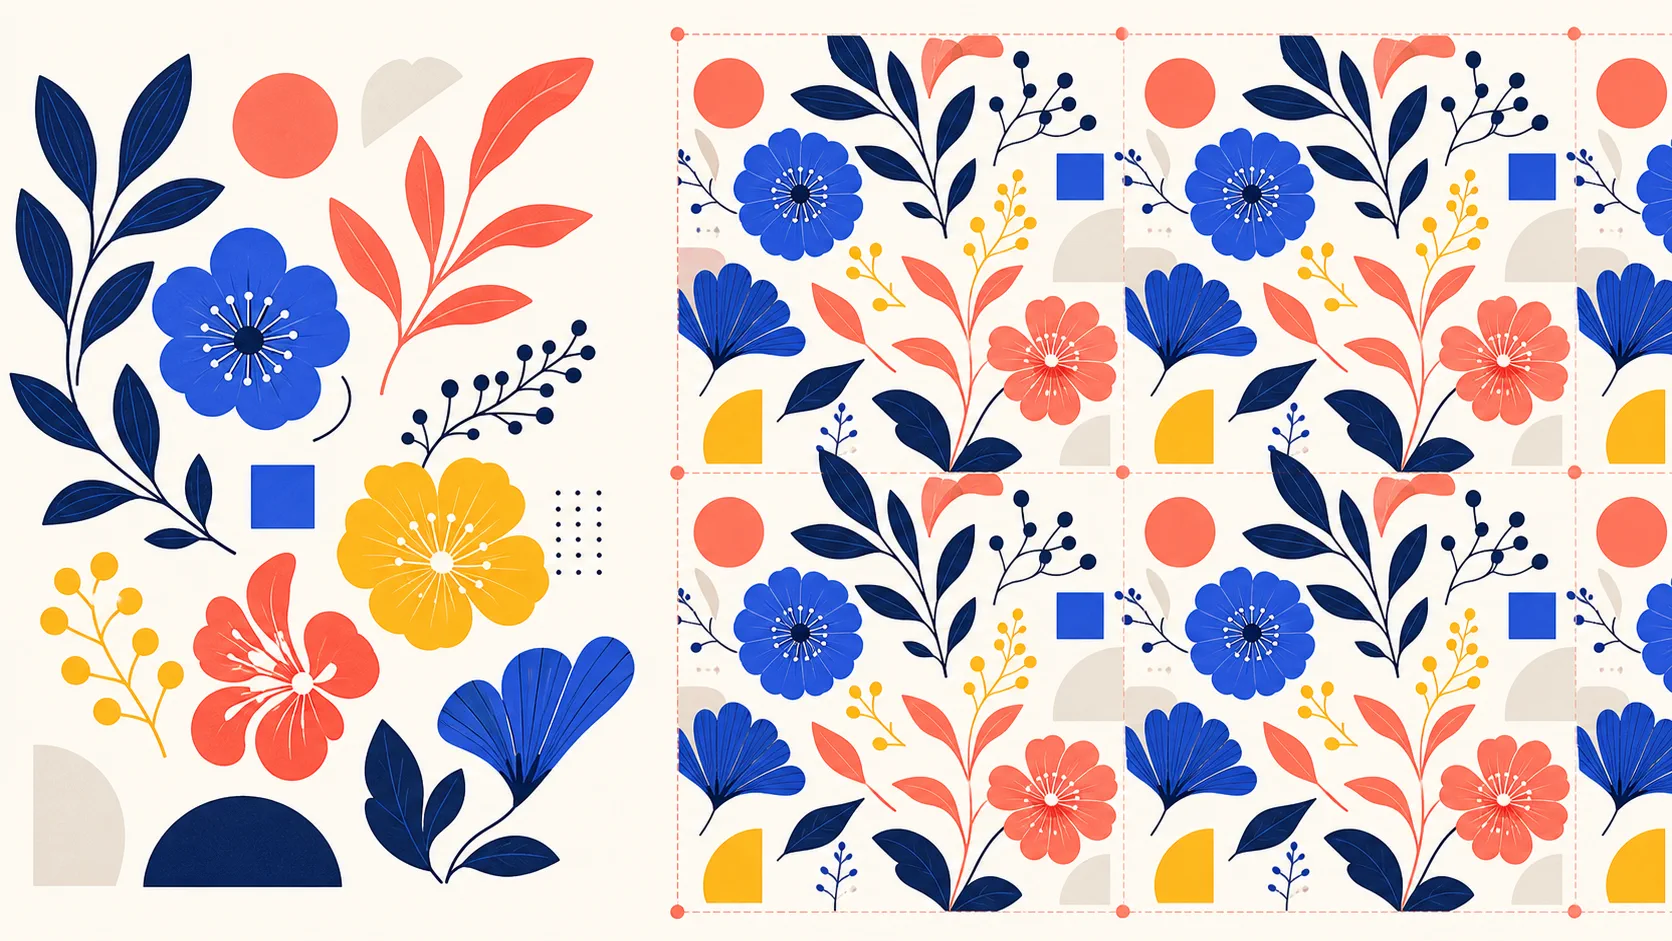
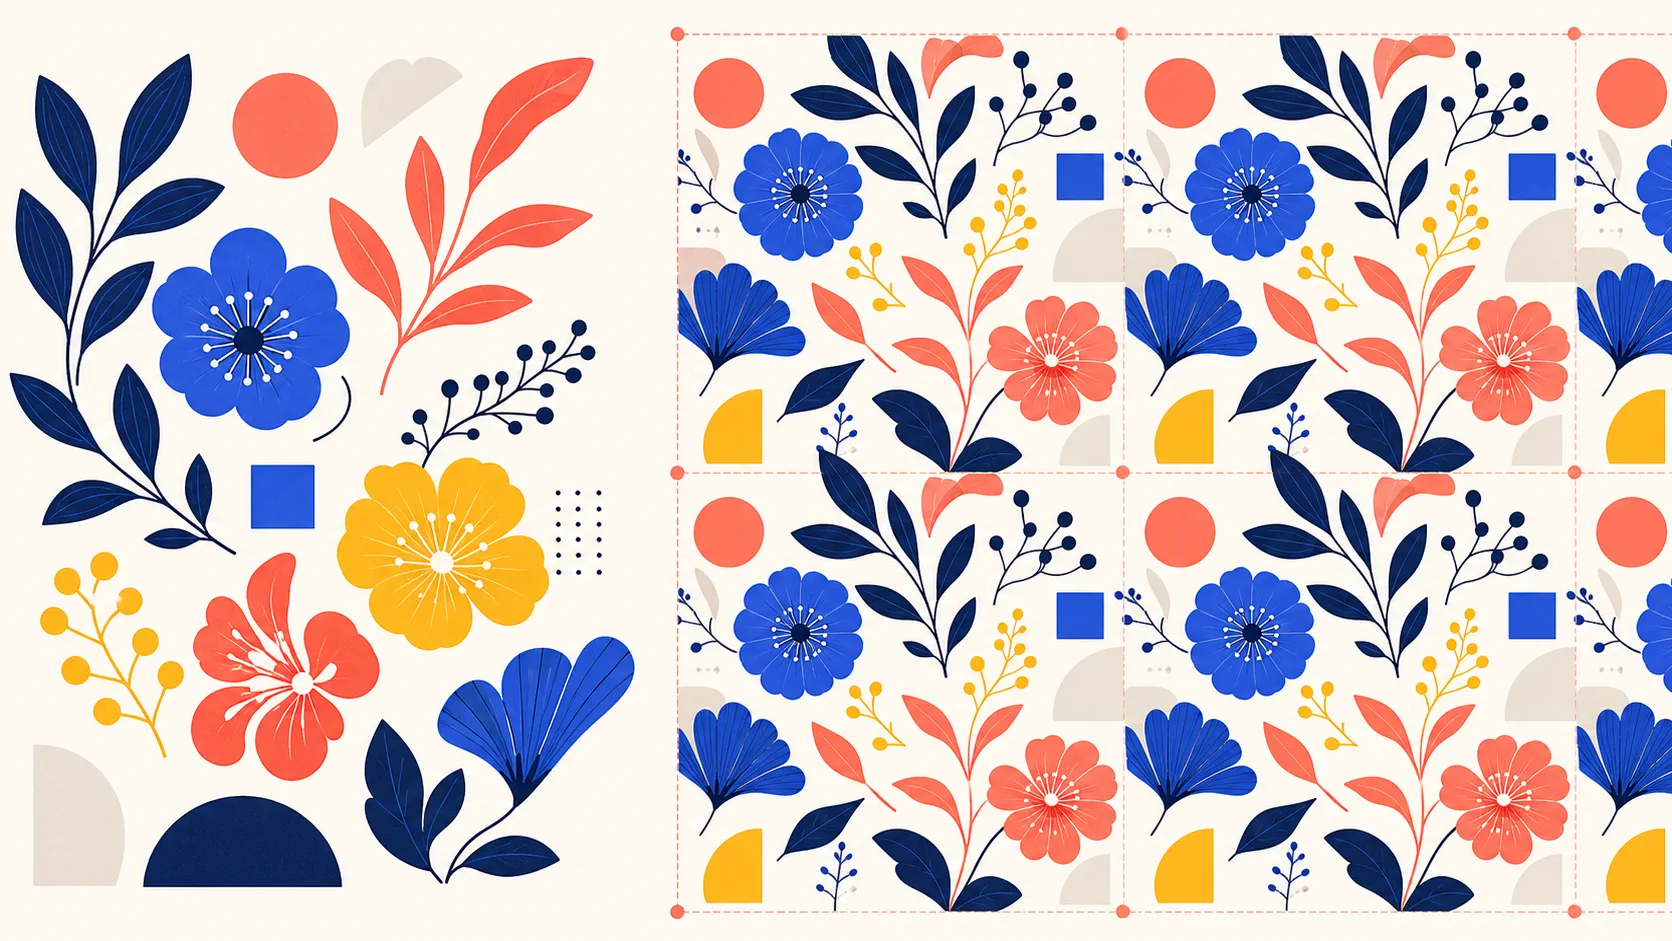
Adobe Illustrator is one of the fastest ways to make a seamless pattern when your motifs are editable vectors. Its native Pattern Editing mode lets you arrange artwork while previewing the repeat, then save the result as a swatch that can fill any shape.
This tutorial uses the standard Object > Pattern > Make workflow. You will prepare your motifs, choose a tile type, control spacing and overlap, save a swatch, and export a raster tile that you can test outside Illustrator.
Before you open Pattern Options
Start with clean vector motifs. Put your main illustrations, small fillers, and background objects on separate layers or groups. Remove hidden test shapes, unused clipping paths, and duplicate artwork that could unexpectedly enter the repeat.
For a first pattern, use a regular square or rectangular tile and choose Grid. It is the simplest way to understand the relationship between the original artwork and the repeating copies. You can explore Brick and Hex tile types after you can reliably evaluate a Grid repeat.
Keep these practical rules in mind:
- use editable fills and strokes while you are still arranging the motifs;
- make a duplicate of the source artwork before entering Pattern Editing mode;
- use a background rectangle only when it should be part of the final pattern;
- avoid a single oversized motif that will become a landmark in every tile.
Step 1: Select your motifs and create a pattern
- Select the motifs you want to repeat. If you want the pattern to have a background color, include the background rectangle as well.
- Choose Object > Pattern > Make.
- Accept Illustrator's notice that a new pattern swatch will be created.
- Illustrator opens Pattern Editing mode and the Pattern Options panel. The artwork inside the active tile is editable; the surrounding copies are a live preview.
Do not try to edit the dimmed copies around the tile. They show the result of your original artwork repeating. Make changes to the editable objects inside the tile and let Illustrator update the preview.
Step 2: Understand the Pattern Options panel
Pattern Options controls both the shape of the repeat and how you inspect it. Give the swatch a descriptive name before you start making variations.
Tile Type
For most beginner patterns, start with Grid. Tile centers align horizontally and vertically, which makes seam problems easy to spot.
The other common choices are:
- Brick by Row: rows are staggered; this can create a half-drop-like feel for a rectangular tile.
- Brick by Column: columns are staggered instead.
- Hex by Row and Hex by Column: use a hexagonal layout for a less regular rhythm.
Do not assume a staggered tile automatically looks more natural. It still needs balanced motif spacing and a clean repeat.
Tile size, spacing, and overlap
Turn on Show Tile Edge so the active repeat boundary remains visible. Width and Height set the dimensions of the repeat unit. Size Tile to Art makes the tile fit the current artwork, which is useful for a quick first pass but can leave too little breathing room.
Use H Spacing and V Spacing to create intentional space between adjacent tiles. Positive values add space; making the tile smaller than the artwork can cause motifs to overlap. When artwork overlaps at a boundary, use the Overlap controls to decide which tile appears in front.
Increase Copies enough to see the repeat beyond the nearest neighbors, and lower Dim Copies to only as much as necessary. A broader preview helps you notice stripes, empty channels, and overly regular diagonals.
Step 3: Arrange motifs across the tile boundary
Move motifs until the active tile and its preview copies feel continuous. In Pattern Editing mode, Illustrator automatically repeats any artwork that crosses the visible tile edge.
Use that behavior deliberately:
- Keep a few larger motifs inside the tile, not all on the edge.
- Let selected leaves, petals, or small icons cross an edge so the pattern feels connected.
- Watch the preview copies as you move them; the continuation should look intentional rather than cut off.
- Add small fillers only after the large shapes are balanced.
- Check the corners where four tiles meet. A large, high-contrast motif at that intersection can become very obvious.
For a Grid pattern, look for straight visual lines. If three flowers line up horizontally across the preview, rotate or move one. If empty space makes a plus sign where tiles meet, add a small filler or shift an existing object rather than filling the entire area.
Step 4: Choose the right overlap order
Overlap only matters when artwork from neighboring tiles intersects. It is especially important for leaves that appear to pass behind a flower, strokes that continue across an edge, or a background object placed beneath all motifs.
Try the overlap controls in Pattern Options while watching one boundary. Choose the order that keeps the illustration readable. If the result looks like a duplicate object is cutting in front of itself, the issue is usually overlap order, not a broken tile.
If you use a background rectangle, send it behind every motif and make sure it covers the full active tile. A background that is too small can produce transparent or white-looking gaps after raster export.
Step 5: Save and apply the pattern swatch
When the preview looks right, click Done in the pattern editing bar. Illustrator saves the pattern in the Swatches panel.
To test it:
- Draw a large rectangle on the artboard.
- Select the rectangle's Fill in the Properties panel.
- Choose the new pattern swatch.
- Zoom out and inspect the repeat across a much larger area.
Double-click the swatch when you need to return to Pattern Editing mode. Use Save a Copy while experimenting with a new tile type or density so you can compare versions without losing the working pattern.
Step 6: Scale the pattern without scaling the object
A pattern that is seamless at one scale can still feel too dense or too sparse in its final context. Test it on the actual size of package, fabric mockup, wallpaper panel, or web background where it will appear.
Use the Transform controls with Transform Patterns enabled and Transform Objects disabled when you want to change only the pattern scale inside a shape. This preserves the rectangle or other object while adjusting the repeat. Test at a close view for edge detail and at a distant view for rhythm.
At smaller scales, thin strokes and tiny gaps can disappear. At larger scales, repeated landmarks become more apparent. Adjust the artwork itself if the pattern needs a different rhythm; scaling is not a substitute for composition.
Step 7: Export a tile you can test outside Illustrator
The swatch is ideal inside Illustrator, but many workflows need a PNG tile.
For a Grid pattern, create a rectangle exactly the same width and height as the repeat tile, apply the pattern swatch, and align the rectangle to an artboard of the same size. Make sure the pattern is positioned as intended within the rectangle. Then use File > Export > Export As or Export for Screens to make a PNG.
Keep the original AI file for editable vectors. Export SVG or PDF when your next tool needs vector artwork; export PNG when you need a raster repeat for a checker, mockup, or image-based print workflow.
Always test the exported file, not only the Illustrator swatch. Artboard bounds, a missing background, or raster anti-aliasing can expose a line that was not obvious in the vector preview.
Upload the PNG to the Seamless Pattern Checker and inspect the center cross of the repeated image. If you need a large raster canvas for a mockup or print test, generate it from the final tile with the Pattern Filler.
Common Illustrator pattern problems
White lines appear in the exported pattern
First determine whether the line is in the export or only a screen-preview artifact. Open the exported PNG in the Seamless Pattern Checker. If the line is real, make sure the background covers the tile, the artboard matches the tile bounds, and the export did not add transparent pixels around the rectangle.
The pattern repeats cleanly but feels too regular
Look for rows of motifs, equal spaces between every object, and a dominant shape placed at the same point in each tile. Shift the hierarchy: vary angles, move one large motif, and use small fillers to interrupt rigid negative space.
My edge motif is behind the wrong object
Adjust Pattern Options Overlap settings, then check the boundary in the preview. If the objects should not overlap at all, move one farther inside the tile or change the tile size instead of relying on overlap order to hide a collision.
The pattern scale changes when I resize the rectangle
Use the Transform dialog or panel and turn off object transforms while enabling pattern transforms. If both are enabled, Illustrator will scale the object and its pattern together.
I only have a flattened JPG, not vector motifs
Illustrator is strongest when the source artwork stays editable. If the only available file is a flattened image with mismatched edges, tracing and rebuilding each motif may not be the quickest path. Try the Seamless Pattern Generator to repair the image as a tile, then test the output before deciding whether a vector rebuild is necessary.
FAQ
How do I make a repeating pattern in Illustrator?
Select the artwork, choose Object > Pattern > Make, adjust the active tile in Pattern Options, and click Done to save a pattern swatch. Apply the swatch to a large shape to evaluate the repeat at scale.
What is the difference between Grid and Brick by Row?
Grid aligns tiles in rows and columns. Brick by Row staggers alternate rows, creating a shifted rhythm. Grid is easier to learn and inspect; Brick by Row can be useful when an aligned grid looks too rigid.
How do I create a half-drop pattern in Illustrator?
Start with Brick by Row and experiment with the Brick Offset. A classic half-drop is a specific staggered arrangement, so test the preview rather than assuming one offset works for every motif layout.
Why should I test an Illustrator pattern after export?
The swatch preview checks the vector repeat, but a final PNG can introduce issues from artboard bounds, transparency, or rasterization. Testing the exported tile confirms the exact asset you will share or upload.
Can I turn a JPEG into an Illustrator pattern?
You can place a JPEG and use it in a pattern swatch, but Illustrator cannot restore the missing editable vector structure. If the issue is a mismatched image edge, repair and test it first with the pattern converter.