
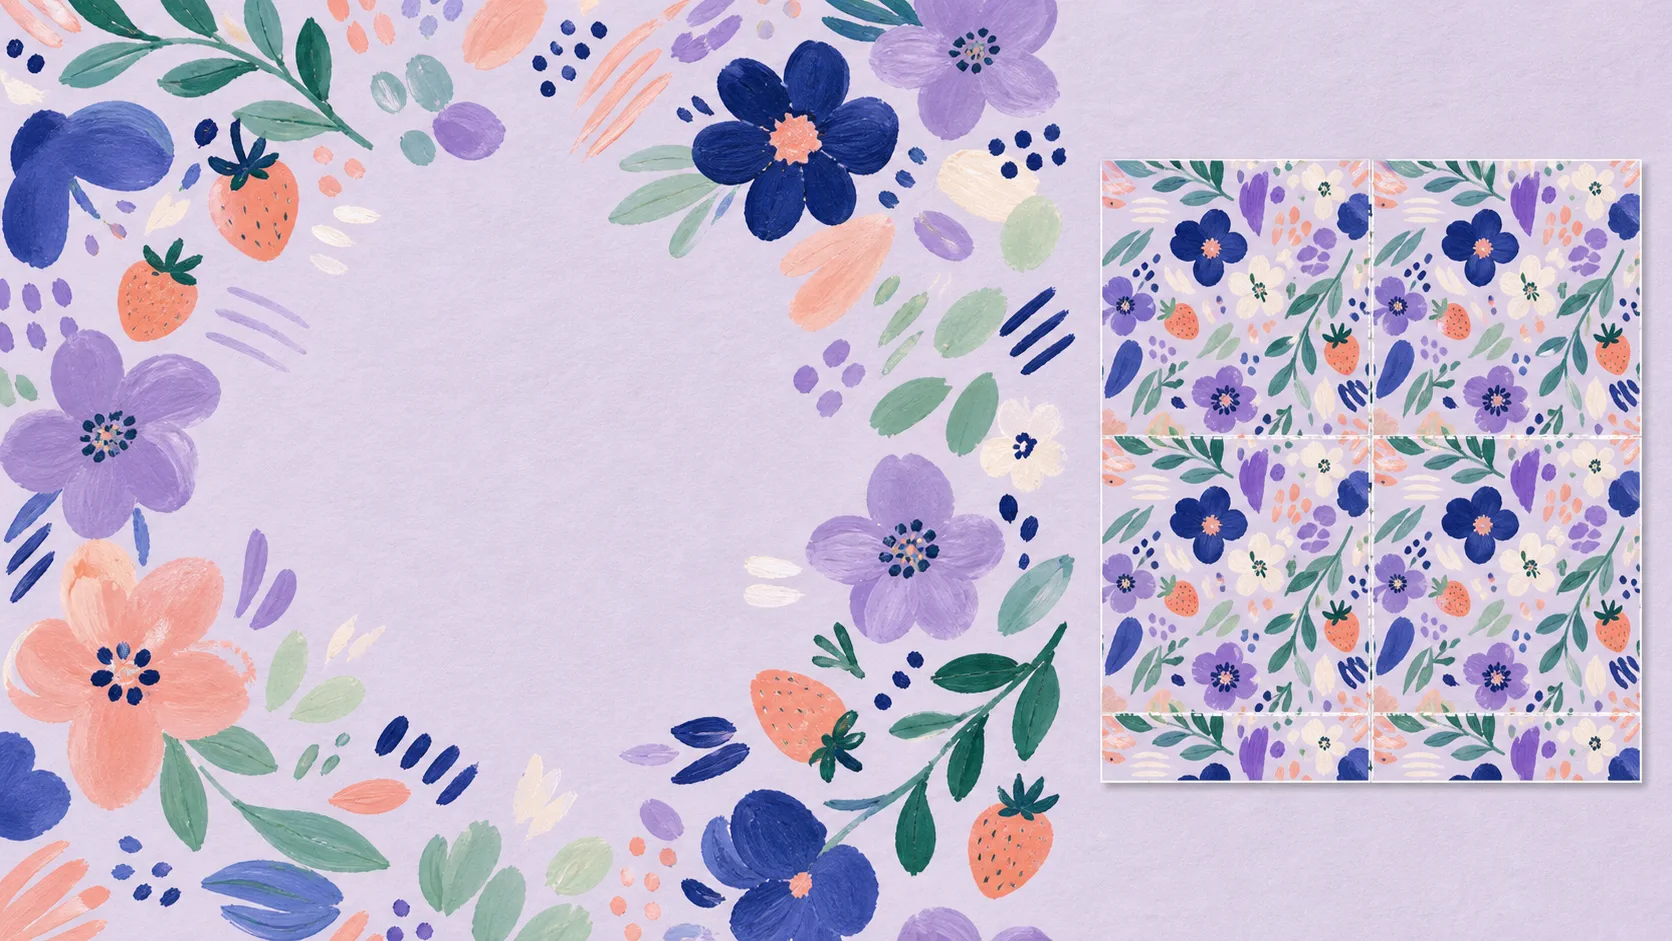
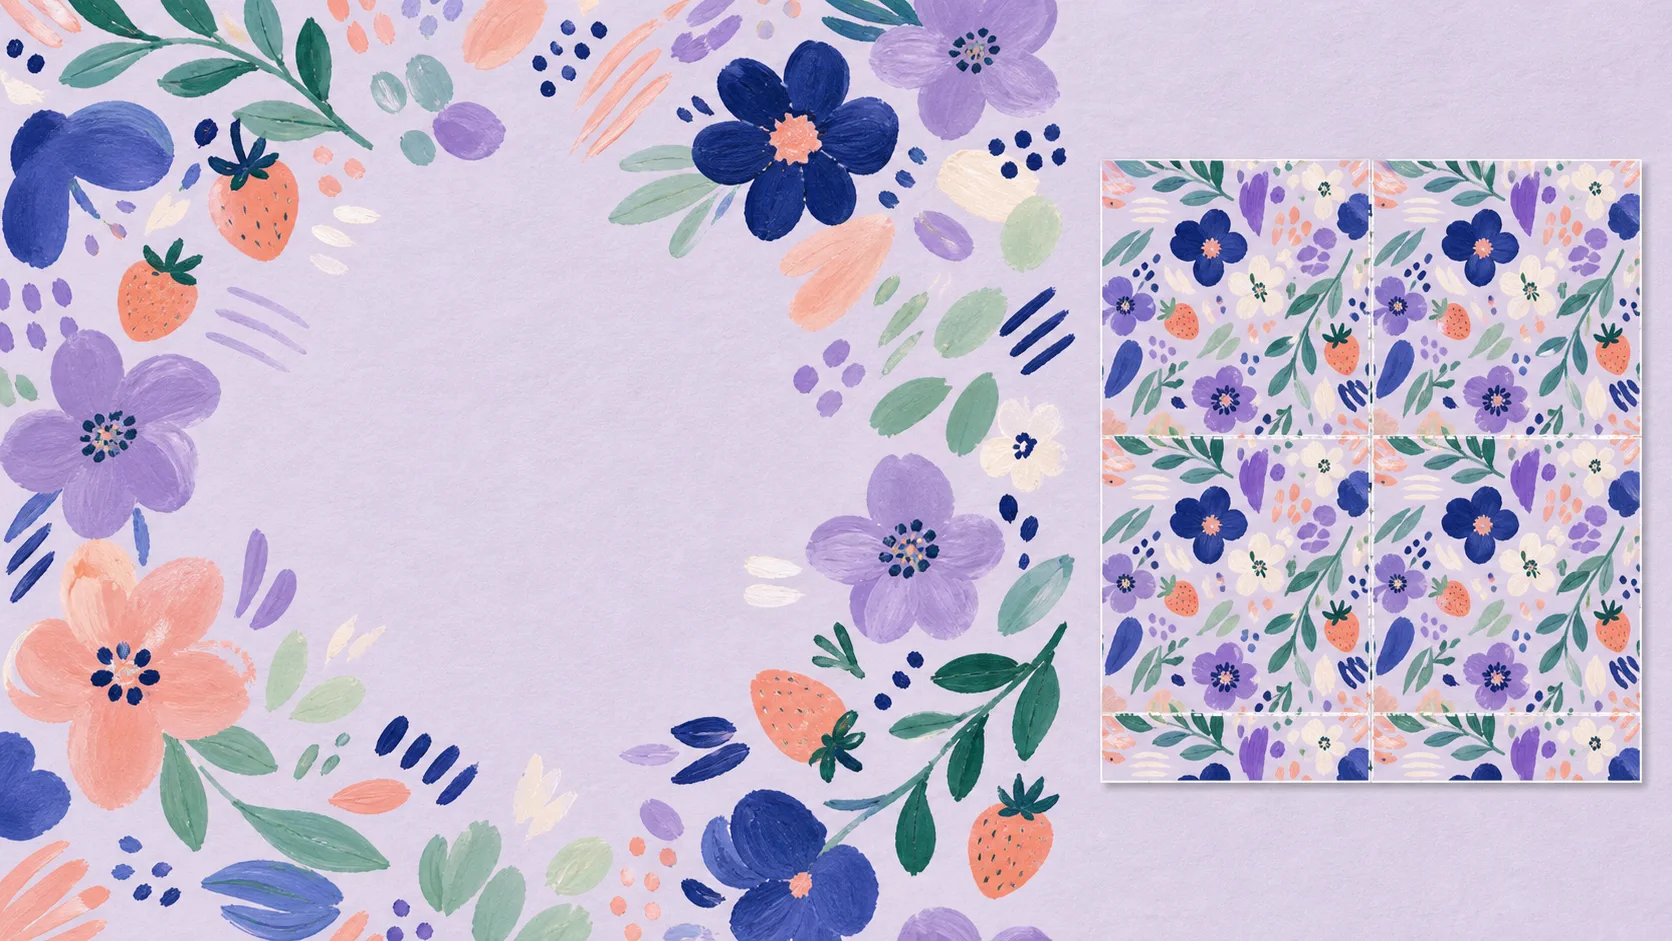
A seamless pattern is one tile that can repeat left, right, up, and down without a visible border. The central rule is simple: when artwork crosses one edge of the tile, it must continue from the exact matching position on the opposite edge.
This guide uses a beginner-friendly four-corner method in Procreate. You will make a square tile, turn a first arrangement into a repeat-safe base, add the final filler motifs, and test the result before export. It works well for hand-drawn florals, food illustrations, simple icons, and other surface-pattern artwork.
What you need before you start
You need an iPad with Procreate and a square canvas. An Apple Pencil is helpful, but not required.
For this tutorial, a 3000 × 3000 px canvas is a useful starting point. It is large enough for many digital and small-print tests without using an excessive number of layers. Choose a larger canvas if your printer or marketplace specifies one. Keep the canvas square: a square tile is easier to test and is the most flexible format for a first repeat.
Set up your file so that it remains editable:
- put the background color on its own layer;
- keep each main motif, or motif group, on a separate layer while drawing;
- keep a hidden original before merging any artwork;
- name the copy you will edit
repeat tile.
Procreate's native .procreate format preserves layers and edits. Exporting a PSD is also useful when another person will finish the file in Photoshop.
Step 1: Draw the first motifs away from the edges
Start with the largest motifs in the middle of the canvas. For example, draw two or three flowers, then add leaves and small dots around them. Keep the first round of artwork away from every canvas edge.
This is not the final composition. It gives you a controlled starting group that can be duplicated and moved without accidentally cutting a motif in half. At this stage, focus on a useful mix of sizes and directions rather than filling every empty pixel.
Avoid these early layout problems:
- putting one large, bright motif in the exact center;
- arranging all motifs on the same horizontal line;
- making every leaf or object point in the same direction;
- creating four matching empty corners.
Those choices can make a repeat look like a grid even when its edges technically match.
Step 2: Duplicate a safe working copy
Open the Layers panel and duplicate the group containing your first motifs. Hide and lock the original group. Work only on the duplicate from this point onward.
You can merge the duplicate into one layer if that makes the transform easier. Do not merge the original. Duplicating a layer or layer group keeps the masks, blend modes, and artwork in the backup, which gives you a clean way to recover if a transform goes wrong.
Step 3: Build the four-corner repeat base
The four-corner method moves one reduced version of the first arrangement into every corner. The edges of those copies will already agree once the tile repeats.
- Duplicate the working artwork until you have four identical copies.
- Select one copy and tap the Transform tool. Choose Uniform so the artwork keeps its proportions.
- Open Snapping in the Transform toolbar and turn on Snapping. Turn on Magnetics as well if it helps you stay on one axis.
- Scale each copy to 50% of the canvas width and height. Using the numeric transform fields is the most reliable way to make all four copies exactly the same size.
- Move the copies to the top-left, top-right, bottom-left, and bottom-right corners. Wait for the yellow canvas guides; they indicate alignment to the canvas and its quadrants.
- Zoom in around the center and confirm the four copies meet without a sliver of background between them.
- Merge those four reduced copies into one layer named
repeat base.
Do not position copies by eye. A one-pixel gap may look harmless in the working view but turn into a line when the pattern is used across a large surface.
Step 4: Fill the empty center without changing the edges
The four copies leave an empty area around the center. Create new layers above repeat base and add smaller motifs into that space.
This is where the design becomes a pattern rather than four shrunken drawings. Vary scale, rotation, and spacing. A small filler motif can point into an awkward gap; a leaf can soften a hard diagonal; a low-contrast dot can balance a dense group without becoming a focal point.
Keep new artwork away from the outer canvas edges. Anything placed there would need its own matching continuation on the opposite side. The edge artwork is already solved by the four-corner base, so leave it alone until you are comfortable with a more advanced workflow.
As you refine the center, check for visual rhythm:
- Is there a large empty cross in the middle?
- Do the largest motifs form rows or diagonals?
- Is one color concentrated in one corner?
- Does one obvious motif become a landmark every time the tile repeats?
The last point is important. A pattern can be seamless and still look repetitive. Moving or shrinking a dominant motif often solves that more effectively than adding more detail.
Step 5: Test the repeat in Procreate
Before export, make a fast 2x2 test document.
- Duplicate the completed tile so the original remains untouched.
- Create a new square canvas at twice the width and height of the tile, or use a larger test canvas.
- Import or copy the tile four times.
- Use Uniform Transform and Snapping to scale each copy to 50% of the test canvas.
- Place one copy in each quadrant.
- Inspect the vertical and horizontal lines where the four copies meet, then zoom out and inspect the overall rhythm.
At 100% zoom, you are looking for a technical seam: a white line, a broken brushstroke, or a sudden shift in background color. When zoomed out, you are looking for a design problem: rows, empty squares, repeated hero motifs, or an accidental checkerboard.
For a larger preview outside Procreate, upload the exported tile to the free Seamless Pattern Checker. It makes it easier to inspect the repeat at a scale closer to fabric, wallpaper, or a large background.
Step 6: Fix seams and obvious repeats
Treat these as different problems.
Fix a visible seam
A visible seam means the tile boundaries do not actually match. In this workflow, check that every four-corner copy was scaled to the exact same size and snapped to the canvas edge. Then look for a background layer that is hidden in one copy, an accidental transparent gap, or an added center element that crossed an edge.
Return to the editable tile rather than painting over the test document. Repair the source tile, then repeat the 2x2 test.
Fix an obvious repeat
An obvious repeat has no broken edge, but your eye still notices the grid. Try one of these changes:
- move a large motif away from the middle of the tile;
- rotate two similar motifs so they do not create a line;
- break up a large blank area with a small filler element;
- reduce a very high-contrast accent;
- distribute dark and light motifs more evenly.
Do not solve every problem by filling space. A pattern needs breathing room; it just should not repeat as a rigid shape.
Step 7: Export the finished tile
Save the editable .procreate file first. Then tap Actions > Share and export the flattened tile.
- Choose PNG when you need lossless quality or a transparent background.
- Choose JPEG when the background is opaque and a smaller web-ready file is more useful.
- Choose PSD when you want to keep a layer-friendly handoff for Photoshop.
Do not crop or resize the tile after you have tested it unless you test the new file again. The exported image must keep the same complete canvas bounds used in the repeat test.
If you need a large repeating image instead of one tile, use the Pattern Filler. Upload the finished PNG, set the final dimensions, and generate a repeat-sized file without manually duplicating the tile on a giant canvas.
What if you only have a flattened JPG or PNG?
The method above is best when you still have editable Procreate layers. If you inherited a flattened image whose left and right edges do not agree, rebuilding the layout can take longer than creating it.
Start with the Seamless Pattern Generator instead. It is useful for a flattened illustration, scanned paper pattern, or image reference that already has the right look but needs its edge transition repaired. Then inspect the output in the Seamless Pattern Checker before using it in a final project.
Common Procreate seamless-pattern mistakes
A thin line appears between tiles
This is usually a placement or transparency issue. Make sure the four reduced copies touch exactly, the background is visible in the exported tile, and the test uses whole-pixel dimensions. Re-export and test the final PNG, not only the working canvas.
My pattern has no seam, but it still looks like squares
The repeat unit is too noticeable. Look for a central motif, a four-corner void, identical diagonals, or one strongly colored object that repeats on a grid. Change spacing and hierarchy rather than redrawing everything.
My motifs became blurry after scaling
Repeatedly scaling raster artwork reduces sharpness. Make the first composition at a sensible size, use one deliberate transform for the four-corner base, and avoid repeatedly enlarging the same merged layer. Keep the original artwork group in case you need to rebuild at a larger canvas size.
I changed an edge motif and broke the repeat
Any edit that crosses a tile boundary has to appear in the matching position on the opposite side. In this beginner workflow, keep edge changes on the repeat base stage and use the center only for final fillers.
FAQ
Can Procreate make a seamless pattern automatically?
Procreate gives you the drawing, transform, and snapping tools to build a repeat, but the composition and edge matching are still your responsibility. For an existing flattened image that needs edge repair, use the pattern converter and verify the result in a tiled preview.
What canvas size should I use for a Procreate pattern?
Use the requirements of the final printer, marketplace, or project whenever they are available. For practice and many digital uses, a square canvas around 3000 px is a practical starting point. More pixels improve export flexibility but reduce the number of layers available in Procreate.
How do I test a Procreate pattern?
Place four copies in a 2x2 grid and inspect the center cross, then zoom out to judge the overall rhythm. You can also export the tile and use the Seamless Pattern Checker for a faster large-scale preview.
Can I sell a pattern made in Procreate?
You can generally sell artwork you created and have the rights to use, but the answer also depends on your brushes, source assets, licenses, and the rules of the marketplace or print service. Keep your original layered file and review the license terms for every third-party asset.
Should I export PNG or JPEG?
Use PNG for lossless detail or transparency. Use JPEG for an opaque-background image when a smaller file is more useful. In both cases, export the complete tile and test that exact file once more.